Articles
Making a Music Video Using AI Tools
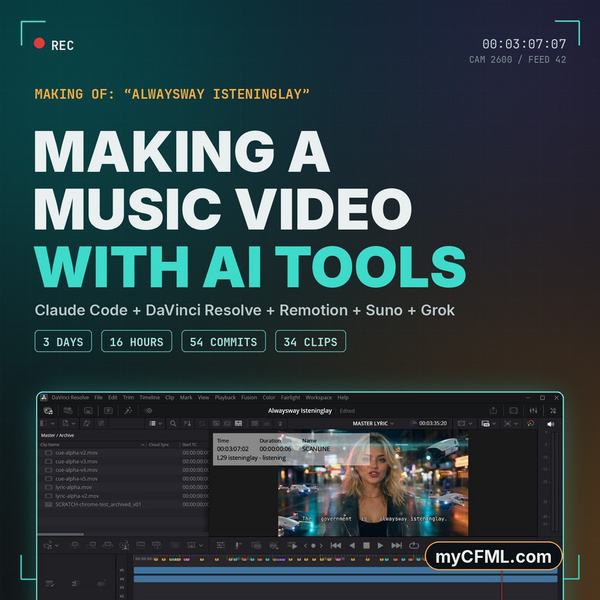
Most of you know me from ColdFusion. Some of you don't know that I also release music as GamesOver, which is an AI music project: human ideas, machine instruments, and a soft spot for the 8-bit era. This will probably just be a one-off article as I prefer to keep this website focused on CFML. I use ColdFusion to manage my finished songs and track which platforms currently have it available for streaming. My artist website is also powered by CFML and I may make some of that code public in the future if there's any interest.
TLDR; Scroll to the end to watch the video.
This post is about the video for a song called "Alwaysway Isteninglay." It's 3:36 in duration and the lyrics are entirely in pig latin. It's a tongue-in-cheek song about being watched by your own government. Eve is the main character and every shot is framed as if it came off surveillance equipment. (I named her "Eve" because I had to name the media resource something, and my favorite Creator named the first women that he ever created "Eve" and it seemed like a great name for my first attempt.)
It belongs on a programming blog because it turned into a programming project. I could have thrown some money at an existing AI platform and had it do everything, but that's no fun and I can't learn anything that way. Most of the three days went into scripts, arithmetic, and checking that things were actually what they claimed to be, which is the same work I do every other week. The parts that hurt were the parts that always hurt. A tool reported success while doing something completely different. This resulted in a wrong cost estimate in one direction only, and I made the same mistake twice in two places far enough apart that I didn't recognize it the second time.
I've manually created a couple of basic lyric videos before using multiple, short AI-generated clips, but this is the first one to have lip syncing, the application of a color grade and an effects layer on top.
Who did what
I supplied the direction and the idea, and I made the calls whenever there was a call to make.
I coerced the lyrics out of Grok and pursued the use of pig latin as an experiment for my upcoming album "Werdz". Suno generated the music and required 12+ attempts finding the right voice and music style. Grok Imagine 2 was used to produce all the B-roll (non-lip sync) footage. I drove all three of these platforms manually using the browser interface... one prompt at a time.
Everything else ran through my desktop terminal using Claude Code on Opus 5 & Fable 5 to create and implement the planning documents, Python scripts, timeline assembly in DaVinci Resolve Studio, the effects layer built in Remotion, the color grade, and the album cover. I initially started using Code Cowork, but discovered there was so much it couldn't do in comparison to Claude Code.
WhisperX and Python and SubTitle Edit were used for fine-tuning the subtitles and curating the per-word timings for the lyric video.
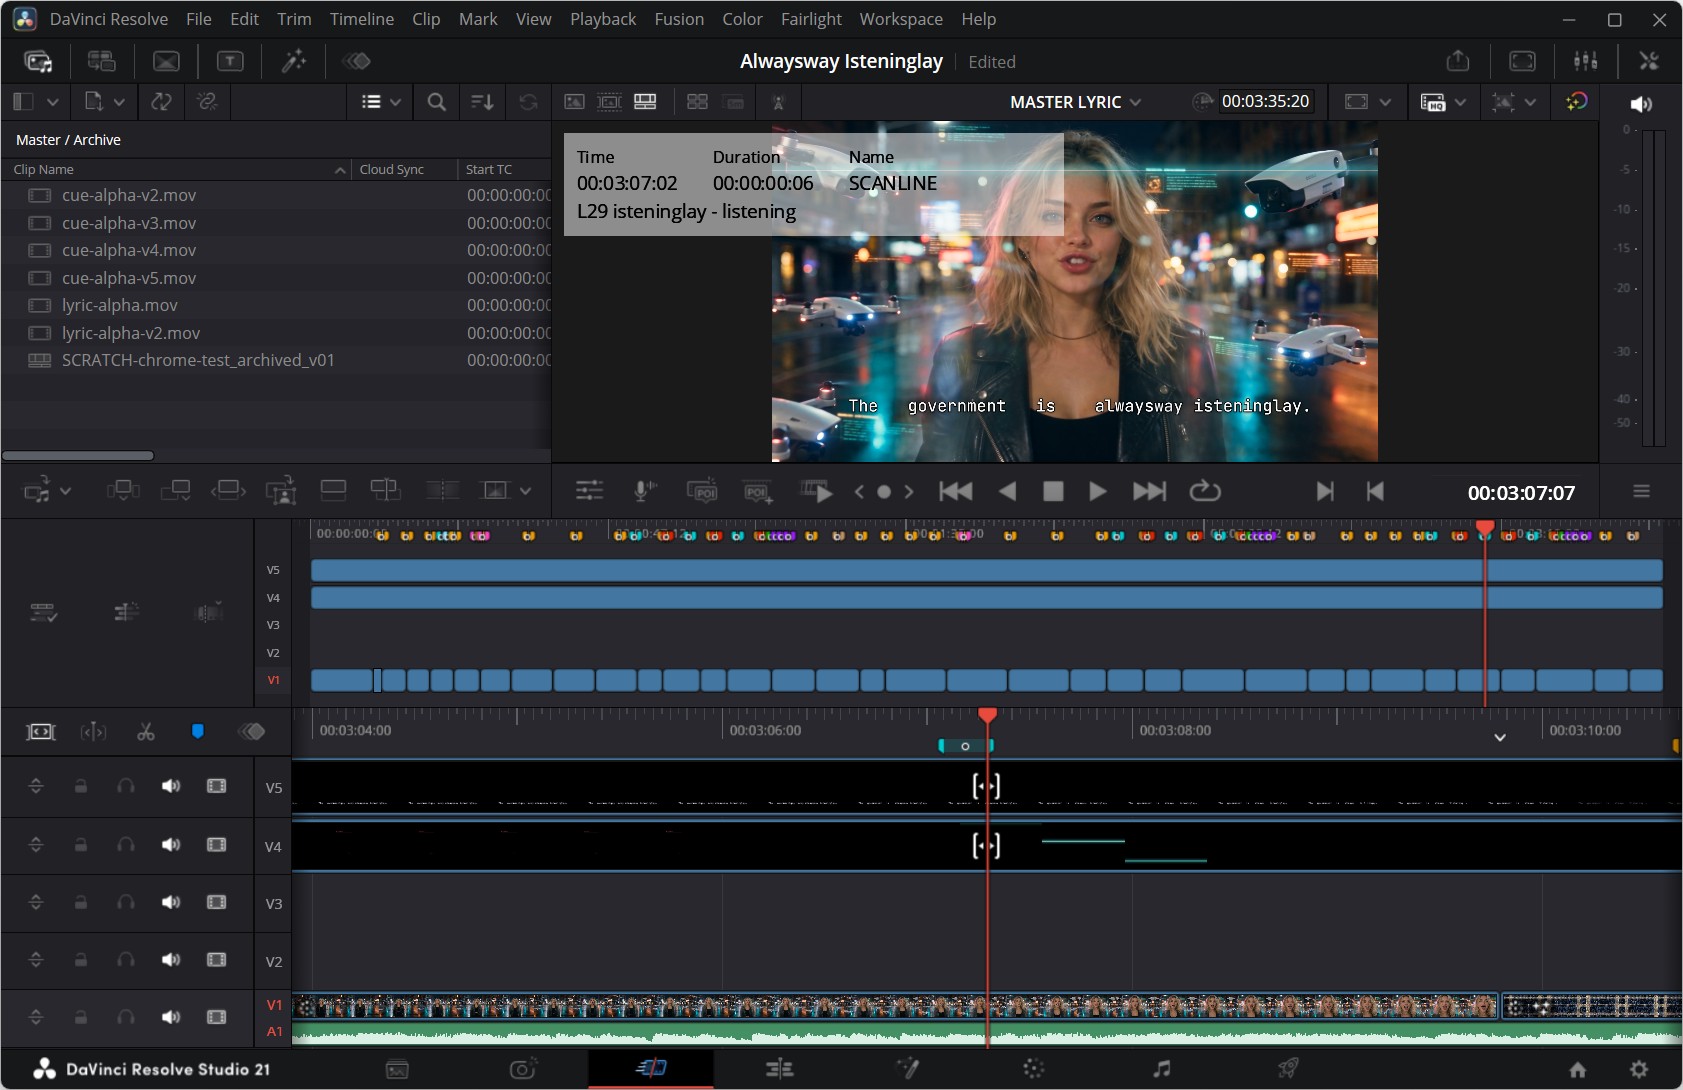
Resolve was driven through the DaVinci Resolve MCP server, which is a bridge that lets an AI assistant call Resolve's scripting interface directly. Placing clips, adding tracks, setting up effects, and kicking off renders. This locally automated process is also where most of the pain came from.
The failure that started the whole thing
There was an earlier attempt at this video where I generated six (6) lip-sync video-only clips that I was going to place on top of the audio, but all of them were useless, and it took a while to work out why.
The singer's mouth was perfectly synced, but it was synced to a singing voice that does not exist in the song. No matter what I tried, I couldn't get it to match up with the actual audio of the song on DaVinci's timeline.
The video generator I was using, Seedance on OpenArt, accepts a few kinds of reference material. Hand it an audio file and it does not sync to that recording. It listens, decides that is the style you want, and then re-performs the line itself in its own voice. Then it syncs the mouth to its own performance. The waveform on screen was never mine. There is no fix for that in an editor, because the timing you are trying to match was never in the building.
So before rebuilding anything, I paid for an experiment using the same lyric line, the same settings, and three different ways of handing over the reference material. It cost about 800 credits total for me to "find out." Then I measured how closely each result's audio actually matched the real vocal, on a scale where 1.0 is identical:
| Setup | What I handed it | Match | Timing offset |
|---|---|---|---|
| A | still photo + the vocal as an audio file | 0.296 | 75 ms off |
| B | still photo + a black video carrying the song | 0.914 | zero |
| C | still photo + both | 0.912 | zero |
Feeding the song in as video is what carries the real audio through. That is the whole trick. And once you do it that way, the timing lands at exactly zero, which means placing clips on the timeline becomes arithmetic instead of nudging things around by eye.
That measurement results in a small script, and after that, every clip had to pass through it before it was allowed anywhere near the timeline. Both finished versions of the video went through it again at the end. Perfect match, zero offset. It is a quick and inexpensive test, and it is the only reason I trusted the result to continue on. (I almost gave up hope after the first couple of manually generated failed attempts.)
What it cost
Everything except OpenArt was already paid for. Grok Imagine was included with my X Premium subscription. (I pay for X because I don't like ads.) I have a Suno Premier plan so that I can edit and access their "studio" feature. DaVinci Resolve Studio was a one-time perpetual license that I had recently purchased. (DaVinci has a free version available, but it's lacking some advanced features.) Remotion is free and open source. So the only real out-of-pocket cost during the production of this video was OpenArt credits.
| What | Credits |
|---|---|
| The three-way sync experiment | 800 |
| Eight lip-sync clips | 6,085 |
| Character reference stills | 400 |
| 43 background plates for Grok, at 20 each | about 860 |
Call it 8,100 credits on an OpenArt Plus plan.
The lip-sync clips were budgeted at 5,690 and came in 395 over, which is the second pitfall. The cost estimator underestimated it and it quoted 711 credits for a five-second clip, but I was charged 760. It quoted 812 for six seconds, and I was charged 910. The published formula is right at exactly four seconds and wrong at every length above it. If you plan a budget from the quote, your budget is wrong and always in the same direction.
Those 8 clips totaled 40 seconds of finished footage... it cost 6,000 credits for 40 seconds for lip sync. This expense is exactly why the other 176 seconds were generated by Grok Imagine.
What it took
Roughly 16 hours of screen time over three days, from writing the design document to rendering the final version. 54 commits.
That number is honest but a little flattering. It leaves out the earlier attempt I threw away, and it leaves out the stretches where a render was running and I was doing something else entirely. I also wasn't just sitting in front of my screen solely focusing on this the entire time. I'm a multitasker, so I either watched TV with my wife or worked on some ColdFusion-related scripts.
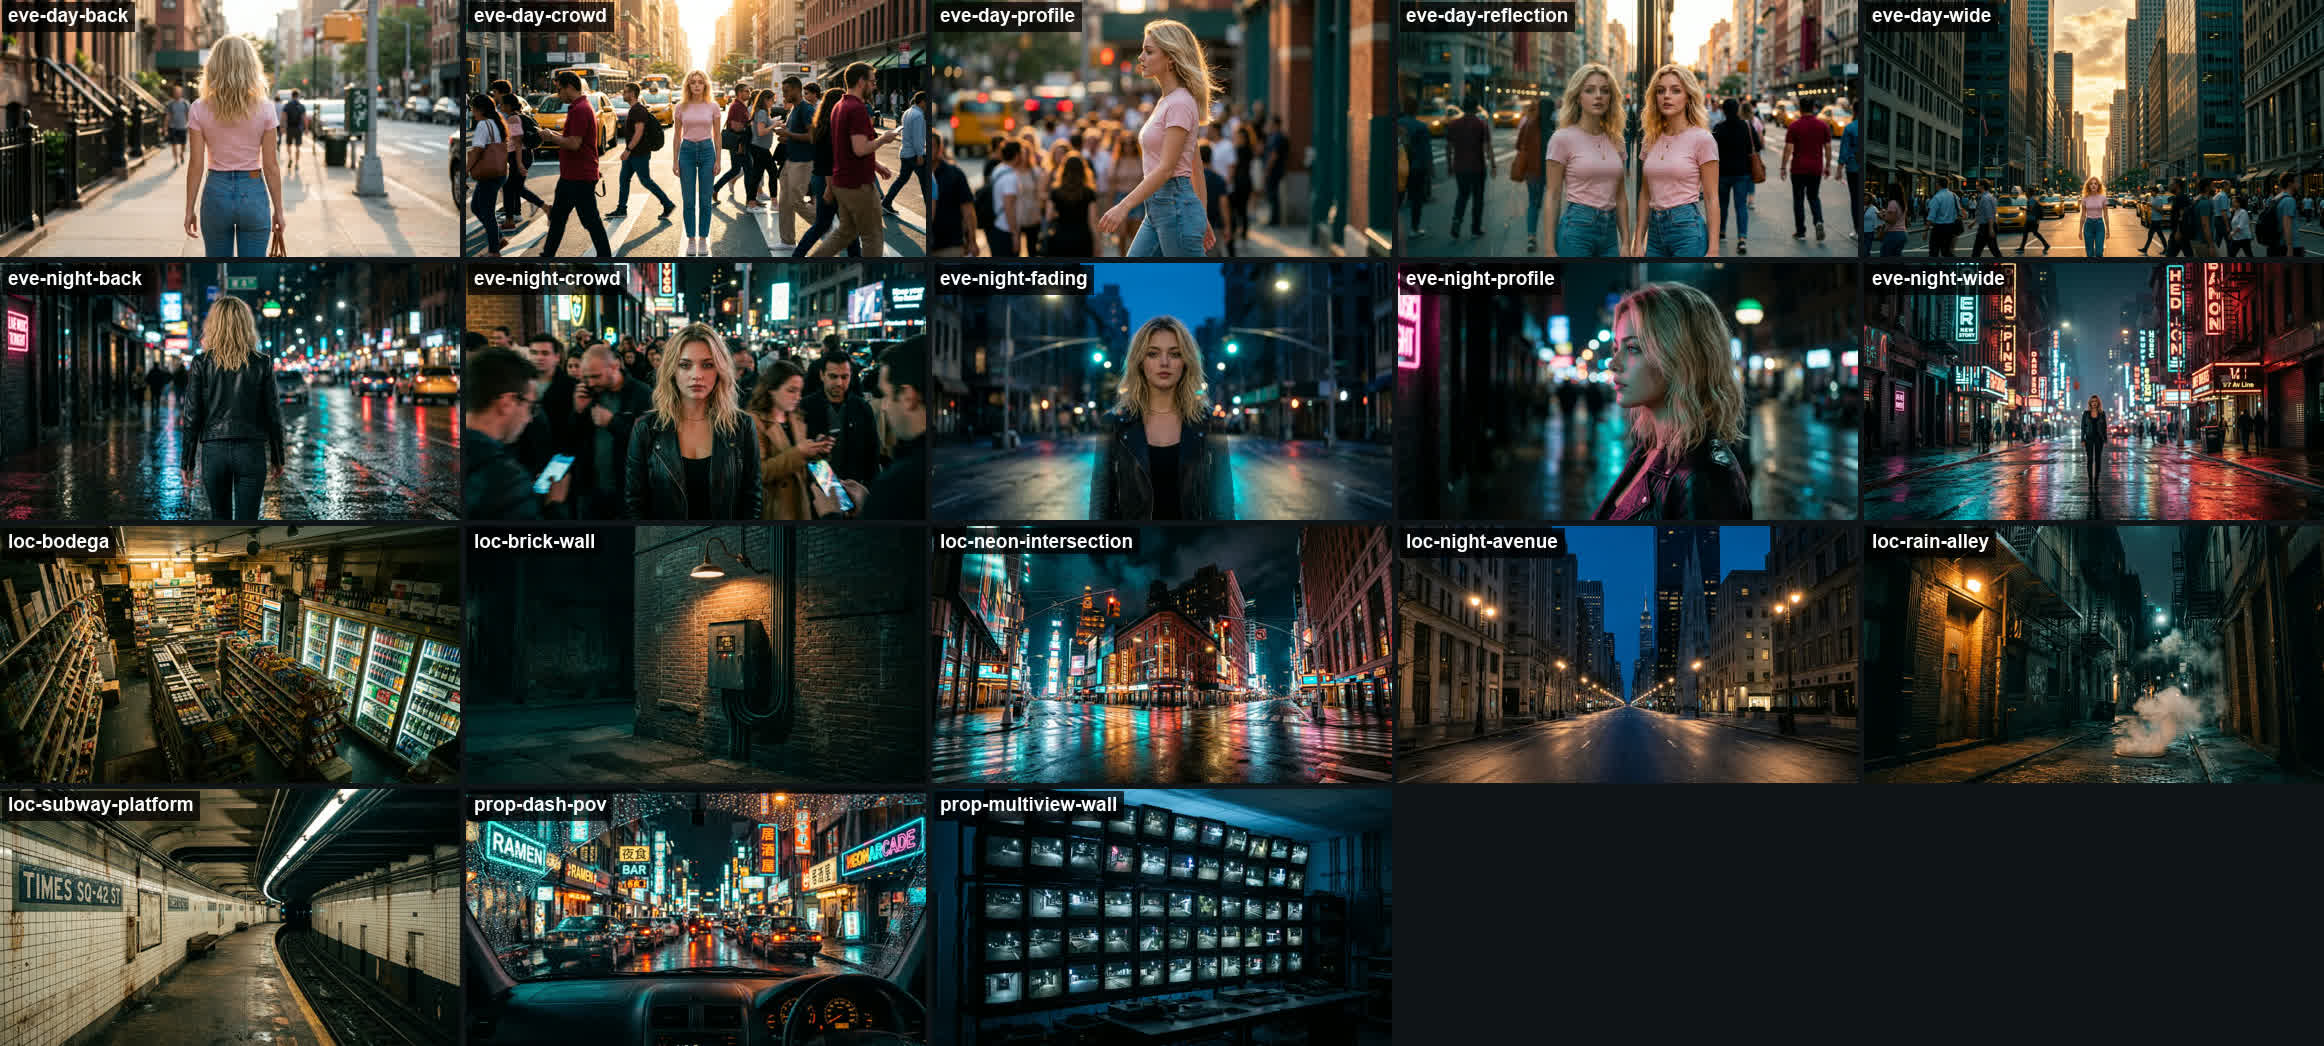
The biggest single chunk of the project was generating background footage. Twenty-two usable clips took twenty-one rejects to get.
Decisions I would make again
Split the generators by whether you can see her face. Eve's face was only ever produced by one generator using a single locked reference photo. Grok was never tasked with rendering her face singing anything, but she was loaded as a character using the new Grok 2 model. Grok gets the shots where you couldn't identify anyone anyway: thermal, night vision, satellite, and a drone two hundred feet up. That single rule is why she looks like the same person for three and a half minutes across two systems that have never heard of each other.
Give the camera to the place, not to the person. Every clip in my first batch came back as a flattering portrait of a model, because I had described a camera angle in words while handing the generator a beauty shot of her as the reference. Give any generator a portrait and it will frame the pretty subject. The handful that worked were the ones where the camera obviously belonged to a location: a ceiling dome, a subway platform, an ATM, a rooftop telescope. So the rule became that the camera has to be visible in the reference image, and that it was recording before she arrived and keeps recording after she leaves.
One color recipe on everything. Two different generators do not look alike out of the box. I generated a single color profile with a script, teal in the shadows and amber in the highlights, and applied it to all 34 clips. That did more to make it feel like one film than any amount of fiddling with individual shots, and because it comes from a script, the entire look is reproducible.
Fix the text, not the movie. The initial lyric layer of the video generated by Remotion was occasionally displaying white text on a white background. Claude's solution to this was to darken the entire video so white text would read over bright backgrounds. It was unwatchable: three and a half minutes of murk to solve a problem that only exists where white letters land on white pavement. Putting a heavy black outline on the text solved it and the picture stayed at full brightness. (I guess I should have requested a small sample video before it performed the change to the entire video.)
Let the effects leave her alone. Scanning lines and glitches crossing her face fight the performance those seconds exist for. In the final cut, the machinery only reaches her during the last chorus, and it reads like the system finally caught up with her.
Some Images from the process
Pitfalls
The tool said it worked. It didn't. The Resolve bridge came back reporting success four separate times while doing something other than what I asked.
The worst one was a command to add an effect on a specific track at a specific point for a specific length. It ignored all three of those and dropped the effect at the very beginning of the track that held every clip in the video, shoving everything else five seconds later. All eight lip-sync clips fell out of sync at once. The built-in check for gaps in the timeline reported no problems the entire time, because a timeline that has been shoved sideways is still perfectly gap-free. What actually caught it was counting: the track had 35 items on it, and it should have had 34.
Earlier, a different command turned out to treat the end point as exclusive, so twelve clips came out one frame short and left a black flash between each pair. Twelve reported successes, twelve wrong clips. My verification step passed because it confirmed the clip existed, not that it was the right length.
The lesson generalizes well past video: check for the shape the change should have produced, not for the absence of an error message. Read back the one value that would be different if the call had gone wrong.
Repeating something does not attach it to anything. One of my scene descriptions insisted on Eve's blonde hair three separate times while describing her three companions as "a group of three friends" and nothing more. The clip came back with two blondes standing four feet apart. Repetition does not bind a trait to one person; it just raises that trait's odds everywhere in the picture, and the nearest available woman absorbed it. The fix was to describe everyone else as specifically as I had described her, and finish with "she is the only blonde woman anywhere in this picture."
The reference image has to contain the surface the action happens on. A shot of a figure walking through a building came back with her strolling on the outside of the brick wall and treating the facade as a floor. My description said she moves "along the wall's surface," and the reference image was a flat exterior with no interior in it anywhere. There was no floor in the picture, so the model used the only flat plane it had. Regenerating the reference as a cutaway with actual floors fixed it on the first try.
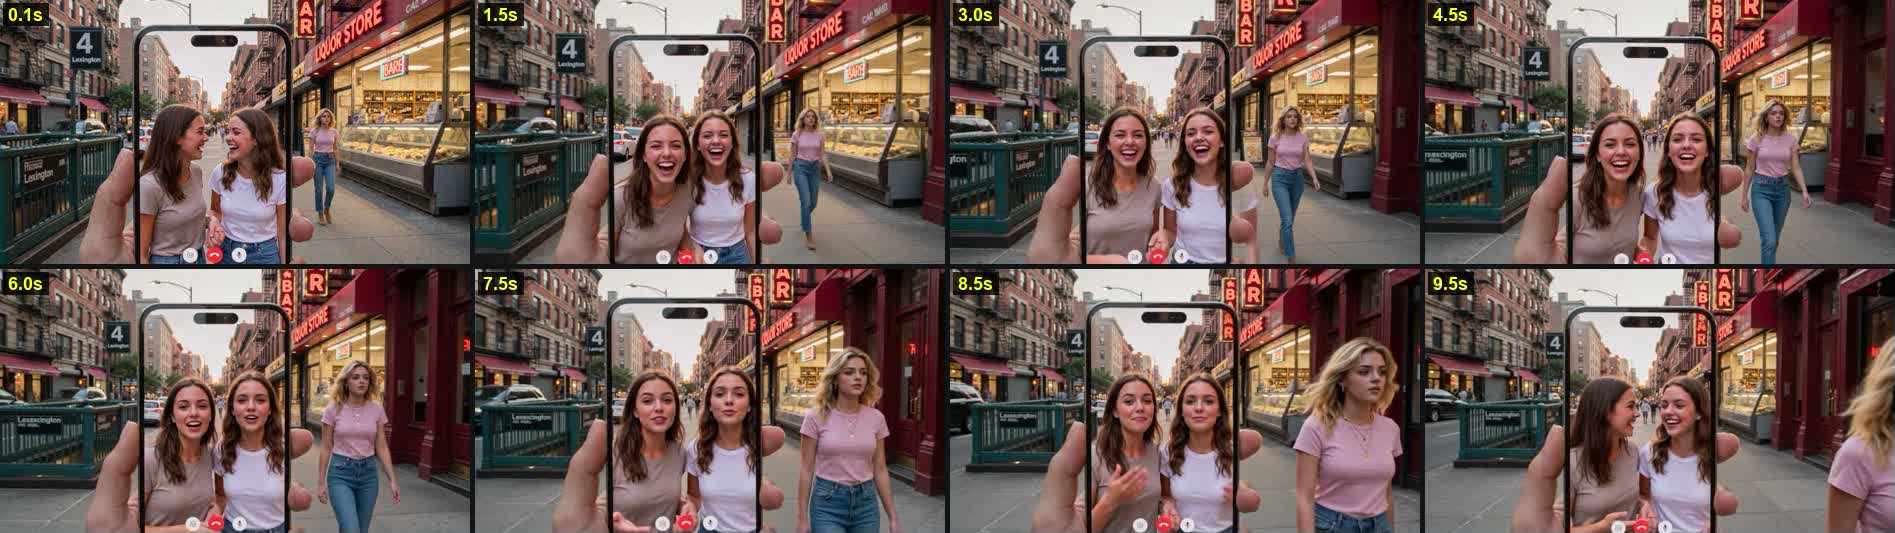
Never draw the camera inside its own shot. A description mentioning a phone screen filling the frame against a reference image containing no phone produced a phone the generator invented, with a caller's arm climbing out of the screen into the street behind it. A screen inside a shot only holds together when it is showing a different camera's output and looks visibly different from its surroundings. A cold gray feed inside warm daylight is a boundary the model can see. A warm street inside a warm street is not.
A description that says "exactly as the reference shows" expires quietly. That is how the phone happened. It was written against an earlier version of the image; the image got regenerated for an unrelated reason, and nothing anywhere flagged that they no longer agreed.
The safety filter will reject the model's own output. One generation failed because my prompt quoted the lyric, so the model sang its own version of a line about government surveillance, and then its own filter refused to hand it back. Dropping the lyric from the prompt fixed it, and as a bonus the average sync accuracy went up from 0.73 to 0.83, because the model stopped layering an invented vocal over mine. Credits are charged and then refunded when this happens. The refund lags a bit, so checking your balance right afterward will mislead you.
Always round down. Every effect is positioned by converting a timestamp into a frame number, and that conversion always rounds down, never to the nearest. One frame early is invisible. One frame late can miss the syllable it was meant to land on.
Sometimes the workaround is the better design. There is a whole category of Resolve effect that the bridge simply cannot reach, and this killed my original plan for the surveillance overlay. As a results, the entire layer moved to Remotion instead. Remotion is a tool for building video out of React components and it returns a single file with a transparent background that drops straight onto the timeline. This turned out to be the better architecture anyway: 54 word-timed effects generated from a spreadsheet by a script, with automated tests confirming they still line up with the song.
Do not overwrite the deliverable in place. I like to have AI generate versioned resources so I can refer to past generations in case I need to contrast and compare. The cover art with the title on it got regenerated over the top of the previous version. I had to request that the older typography be restored, and luckily AI still had it in a backup. The markdown notes now record the font, size, position, and every color for all three pieces of text, so any version can be rebuilt from one command... and new revisions get new filenames.
Video lengths aren't perfect. Generating a 6-8 second video often returns a file with a couple of milliseconds over. Production-wise, I can trim videos, but this becomes a problem if I want to directly upload the finished work to Spotify as a Canvas 9:16 video. They support 3-8 seconds but will reject videos if they are even 8.04 seconds.
Use "Referenced Image" with Grok. Grok Imagine traditionally starts with an image and then animates it, but a new v2 feature allows for an uploaded image to serve as a "reference" image. If not set as "reference," any source image uploaded as a square (i.e., cover art) may result in rendering a square video. I'm not sure if this is a bug or not, but switching it to "reference" allowed me to specify the mode (16:9, 9:16, square, etc).
What I would do differently
Build small tests first, before generating anything. I did, but only because the first attempt had already failed and I had learned it the expensive way. Sixteen hours of work rests on a couple initial tests, and that costs a lot less to compute than rushing generation and discovering that things aren't working right.
Keep the reference image and its description as one thing. Nearly every failed shot traces back to a description that mentioned something the image did not contain, or an image that had quietly drifted out from under a description written against an older version. Those two should never be edited apart.
Test the boring branch. The lyric version was rendered perfectly to a spec that turned out to be a bad idea. Nothing failed or errored... it was just unwatchable and there is no automated test for that. (Humans FTW!)
Identify and re-identify all media. This is not an easy task to perform manually, and I didn't want to outsource it. After producing this video, I purchased a perpetual license for Cut Valet. It's a desktop post-production assistant that ingests, analyzes, and organizes all media, generates markdown files to identify what is being used and backs everything up. It also integrates with DaVinci Resolve and can publish the final video to my YouTube channel. (I'll be testing this to see just how well it works using a local LLM model.)
Watch it
The music video is on YouTube, and there is more at GamesOverMusic.com and on Facebook. I also posted a lyric video. If you catch the numbers 2600 or 42 on any of the cameras, they are there as easter eggs. The audio track will be available on all streaming platforms on August 21, 2026. I also have more backstory available at GamesOverMusic.com. Enjoy!